
")
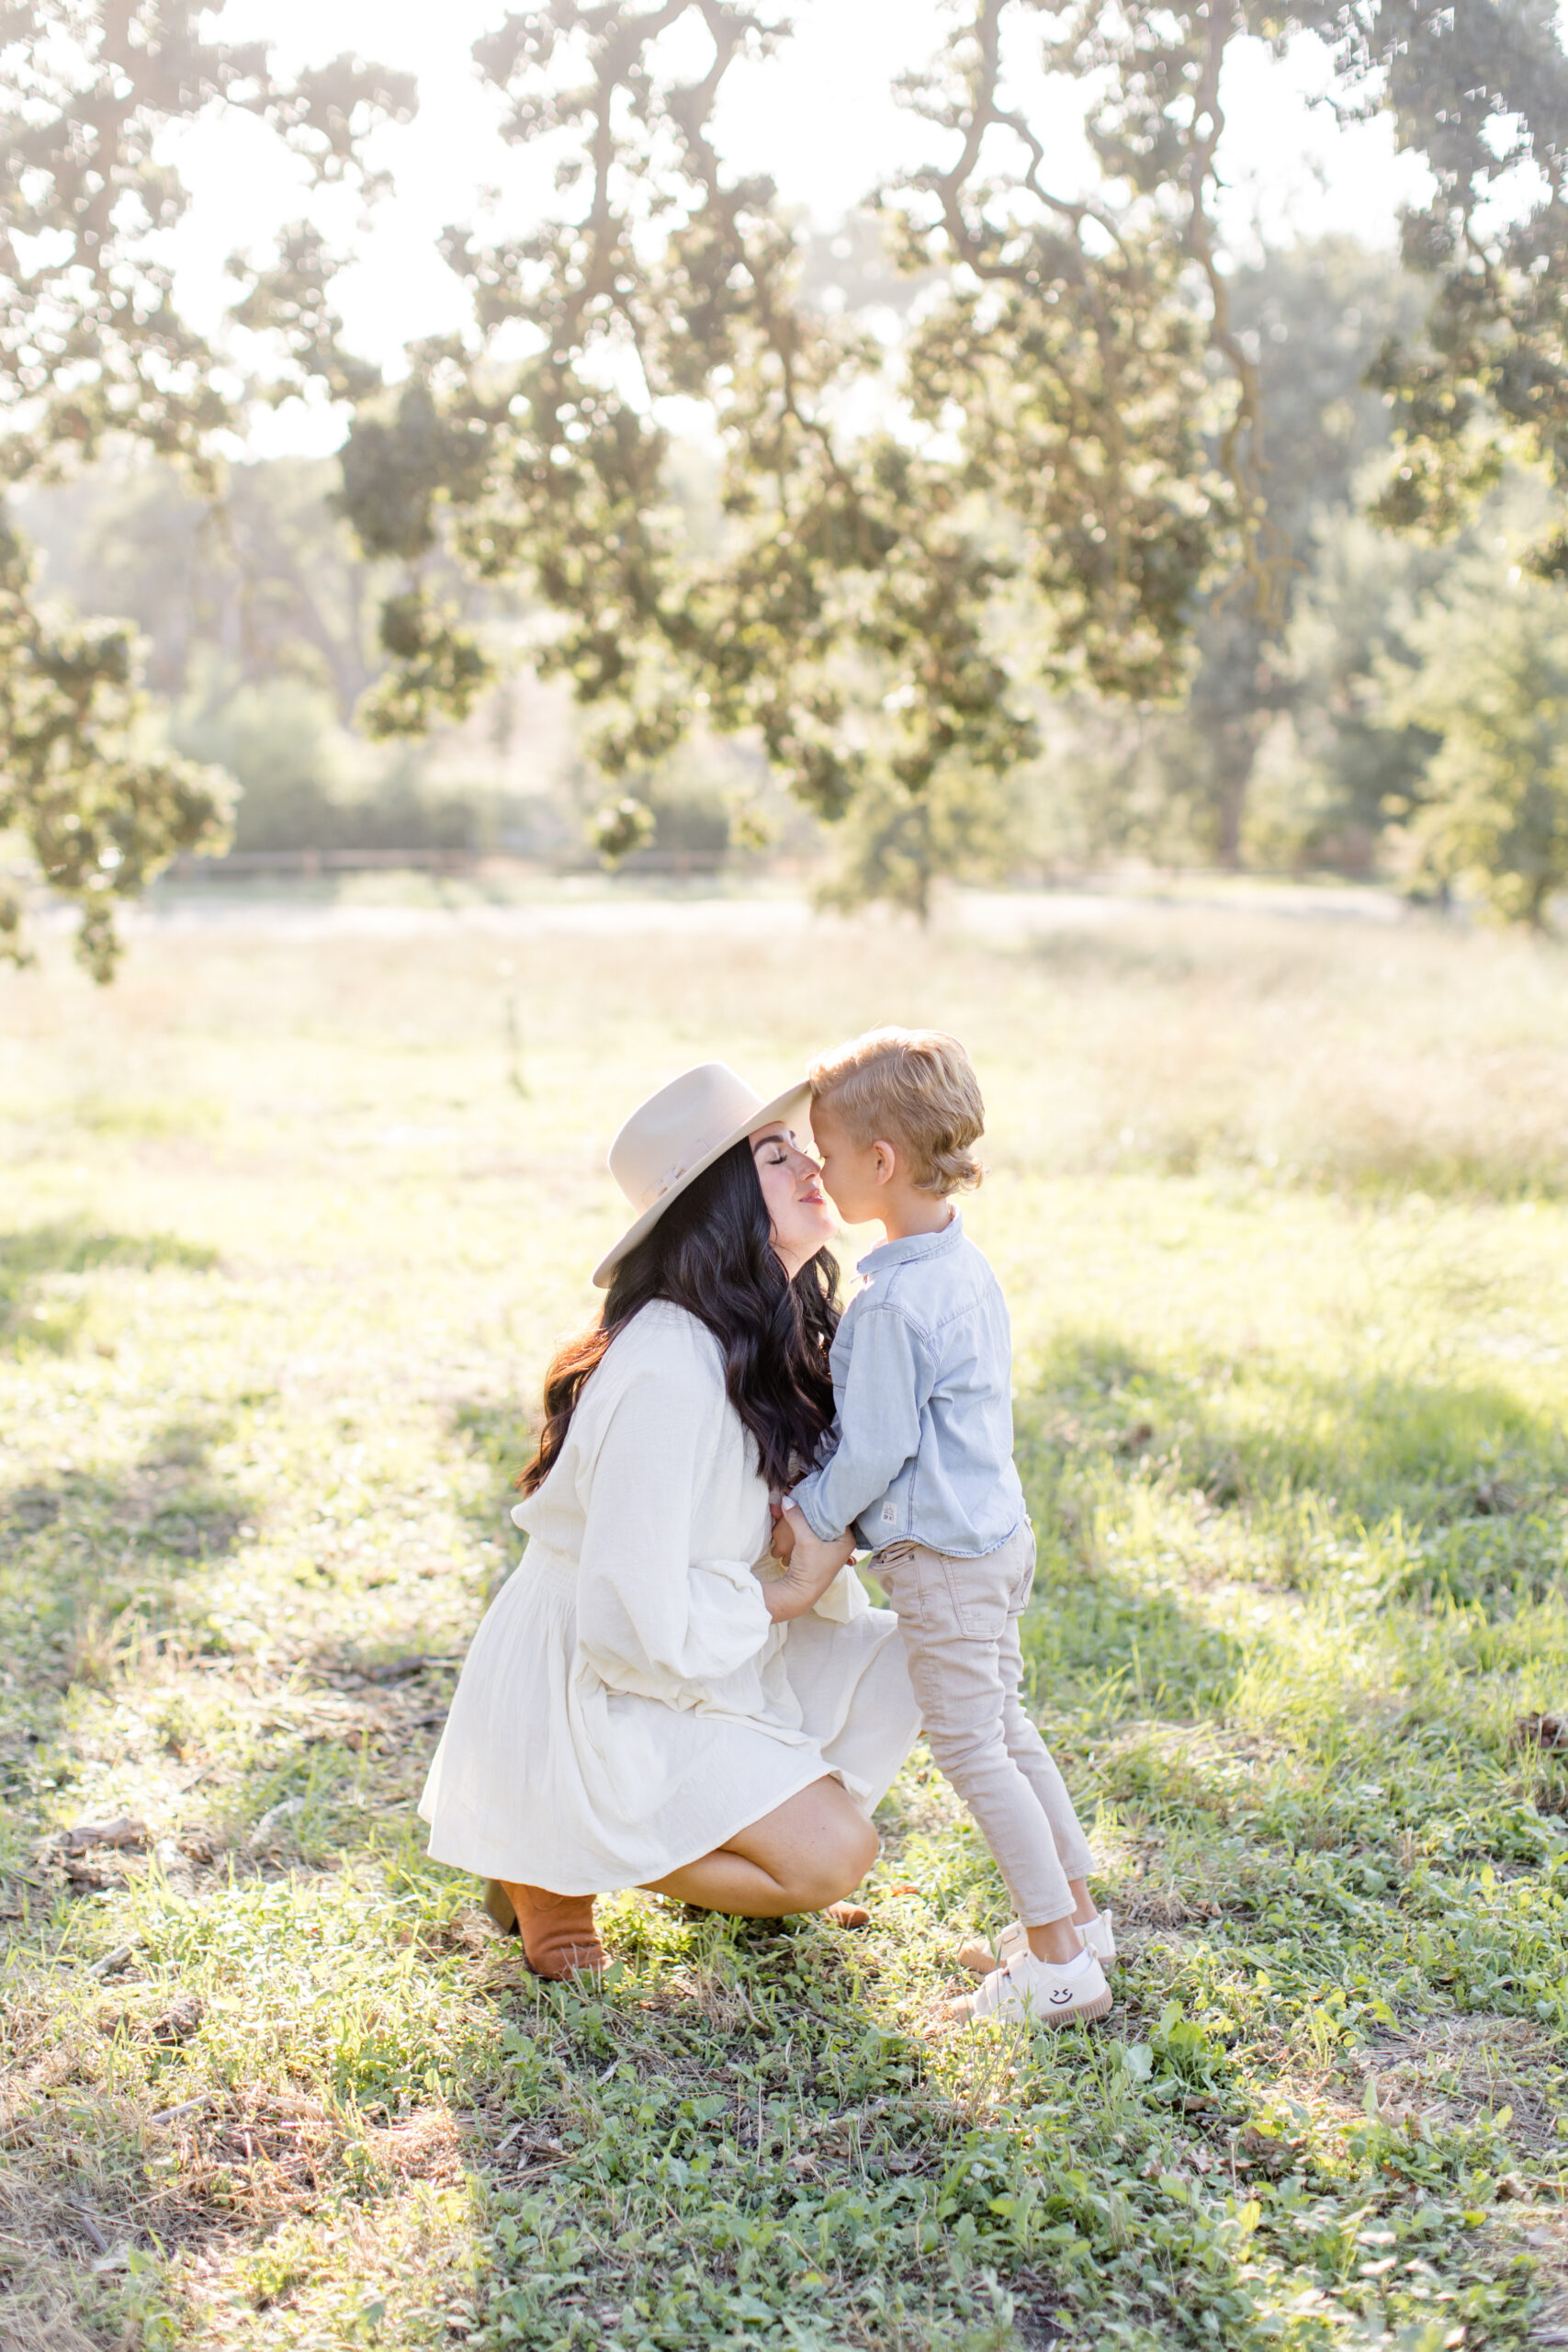
You know that buttery, blurred-out background that makes portraits look professional? The one that instantly makes your subject pop while everything behind them melts away?
That’s called bokeh, and it’s one of the easiest ways to take your photos from beginner to high-end professional.
The best part? You don’t need an expensive camera to get it.
Here’s exactly how to create that soft, dreamy background—no fancy gear required.

Use a Wide Aperture (Low f/Stop Number)
Your aperture setting (f/stop) controls how much of the background is in focus.
Lower f/stop (like f/1.4 – f/2.8) = More blur, dreamier background
Higher f/stop (like f/8 – f/11) = Sharper background, less separation
Pro Tip: If you want that creamy blur, shoot as wide open as your lens allows (like f/1.8 or f/2.0).
Even an affordable 50mm f/1.8 lens can create a gorgeous background blur—so no excuses!
Step Back & Zoom In
The farther you are from your subject—and the more zoomed in you are—the softer your background will look.
A longer focal length (like 85mm or 135mm) will compress the background, making it look extra blurred. If you’re using a 50mm, step back and move closer to your subject—this creates separation from the background.
Best Lenses for Dreamy Backgrounds:
50mm f/1.8 (budget-friendly & great blur)
85mm f/1.8 (classic portrait lens with gorgeous compression)
135mm f/2 (next-level softness)
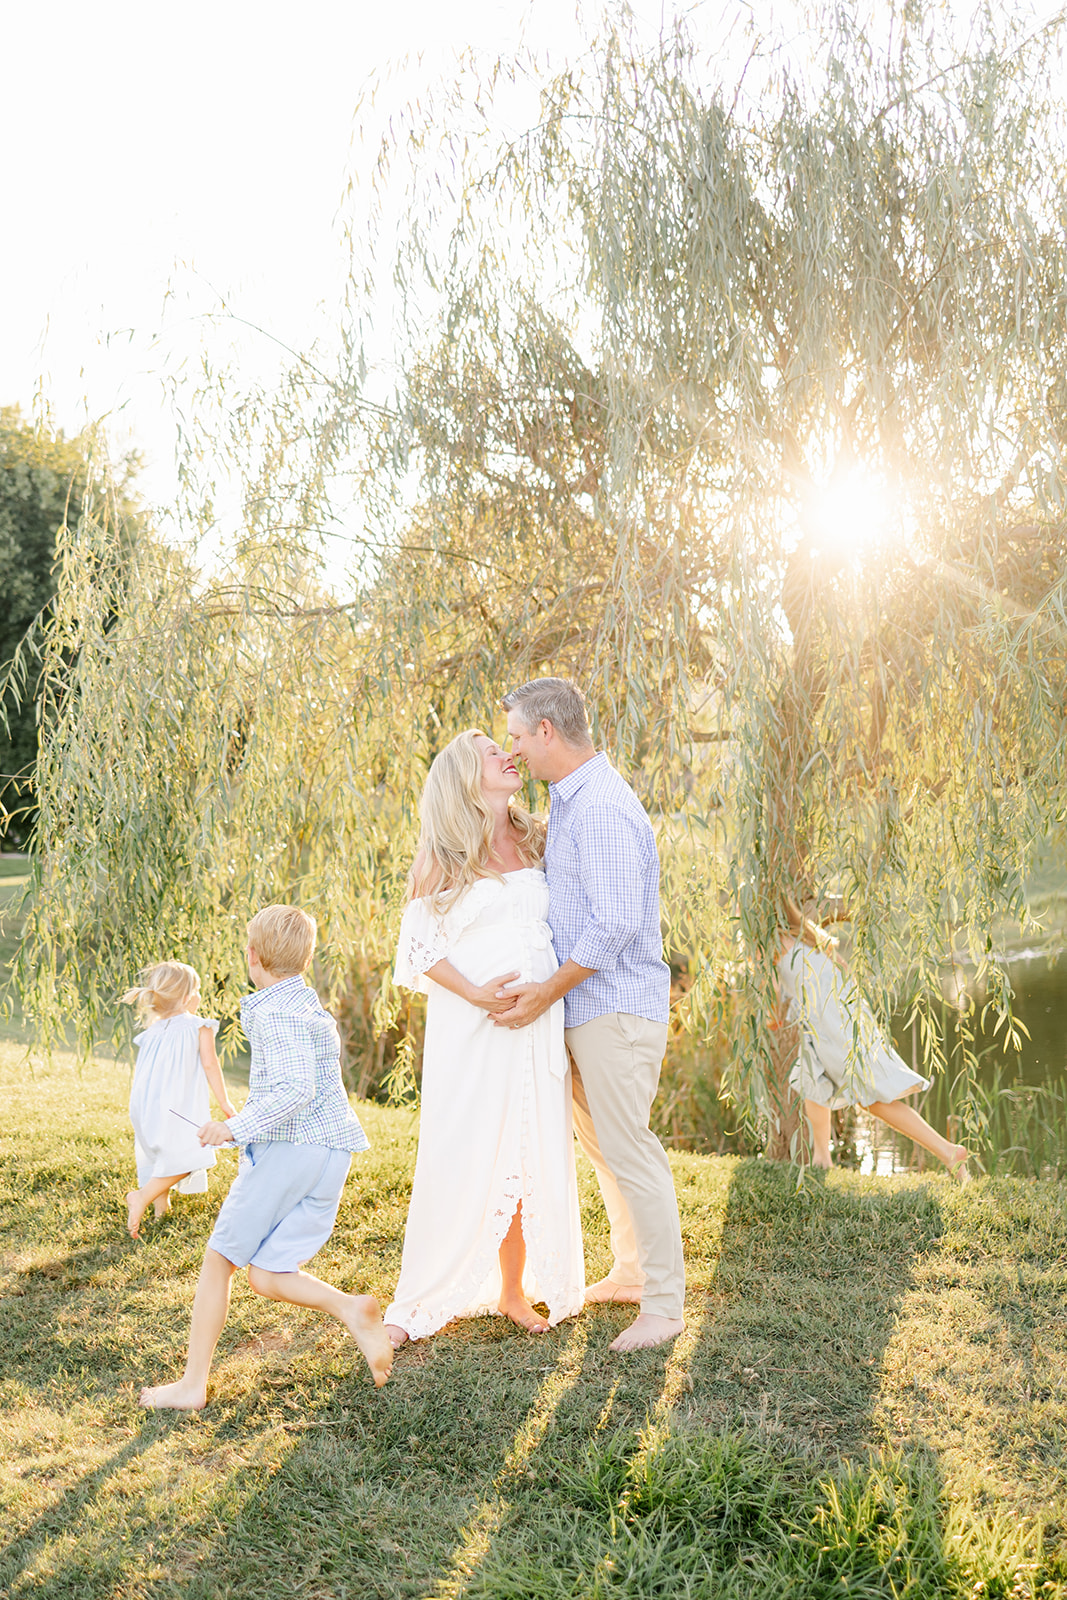
Keep Your Subject Away From the Background
Distance is key! If your subject is too close to a wall, trees, or any background elements, everything will stay in focus.
The fix? Move them several feet away from the background. The farther the distance, the softer and more painterly the background will look.
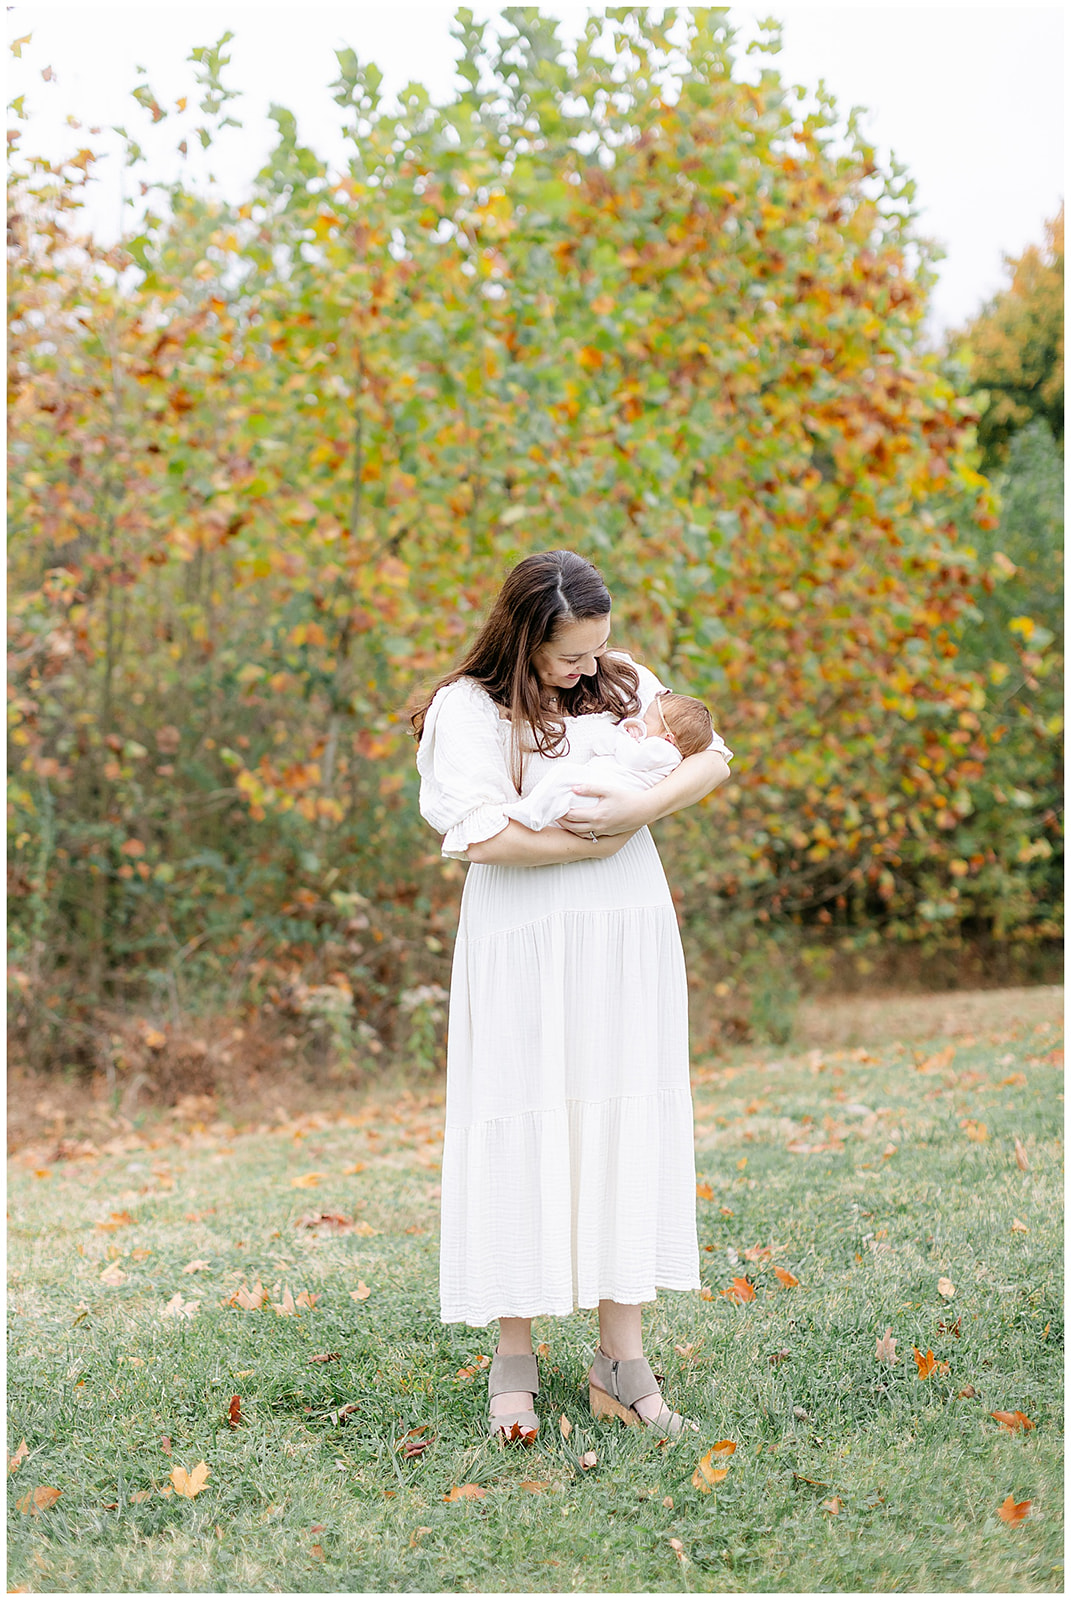
Choose the Right Background
Not all backgrounds blur the same way. If your backdrop is too busy or full of distractions, it won’t give you that dreamy effect.
Best Backgrounds for Bokeh:
Trees with sunlight filtering through
Open fields with soft colors
Textured walls (brick, stucco, etc.)
Avoid: Cluttered streets, distracting patterns, or anything that pulls attention away from your subject.
Light Matters!
Want to take your dreamy background to the next level? Shoot with the light behind your subject.
Backlight + a wide aperture = magical, glowing, creamy backgrounds.
Bonus: If the sun is filtering through trees, you’ll get those gorgeous bokeh circles (everyone’s favorite).
Pro Tip: Golden hour (just before sunset) is the best time for this look!

Want Even More Secrets to Dreamy, Pro-Level Photos?
Getting the right blur is just one piece of the puzzle.
If you want to know exactly how to create stunning, high-end portraits—without expensive gear or complicated setups—then you need Photo Formula.
Inside, I’ll show you:
The exact settings I use for dreamy, professional portraits
How to work with natural light for effortless results
My go-to tricks for making every shot look polished & professional
And for a limited time, I’m offering it for 50% off!
Get it here before the discount disappears → Photo Formula
Because once you master this, your photos will never look the same again.
Final Thoughts
A soft, dreamy background isn’t about having the best camera—it’s about knowing the right techniques.
So next time you’re out shooting, try this:
– Open up your aperture (f/1.8 or lower)
– Step back & zoom in for better compression
– Move your subject away from the background
– Find soft, flattering light
What’s your favorite trick for getting that creamy blur? Drop it in the comments!


")
")
")


")


+ COMMENTS
add a comment